Adobe Photoshop
Process and Production - Adobe Photoshop
Task 1 - The lightbulb
Our first session using adobe photoshop after a little introduction to how the software works and its basics we had a small task to do which would help our skills develop much better. As I've used this software previously I had some experience of using the different tools.
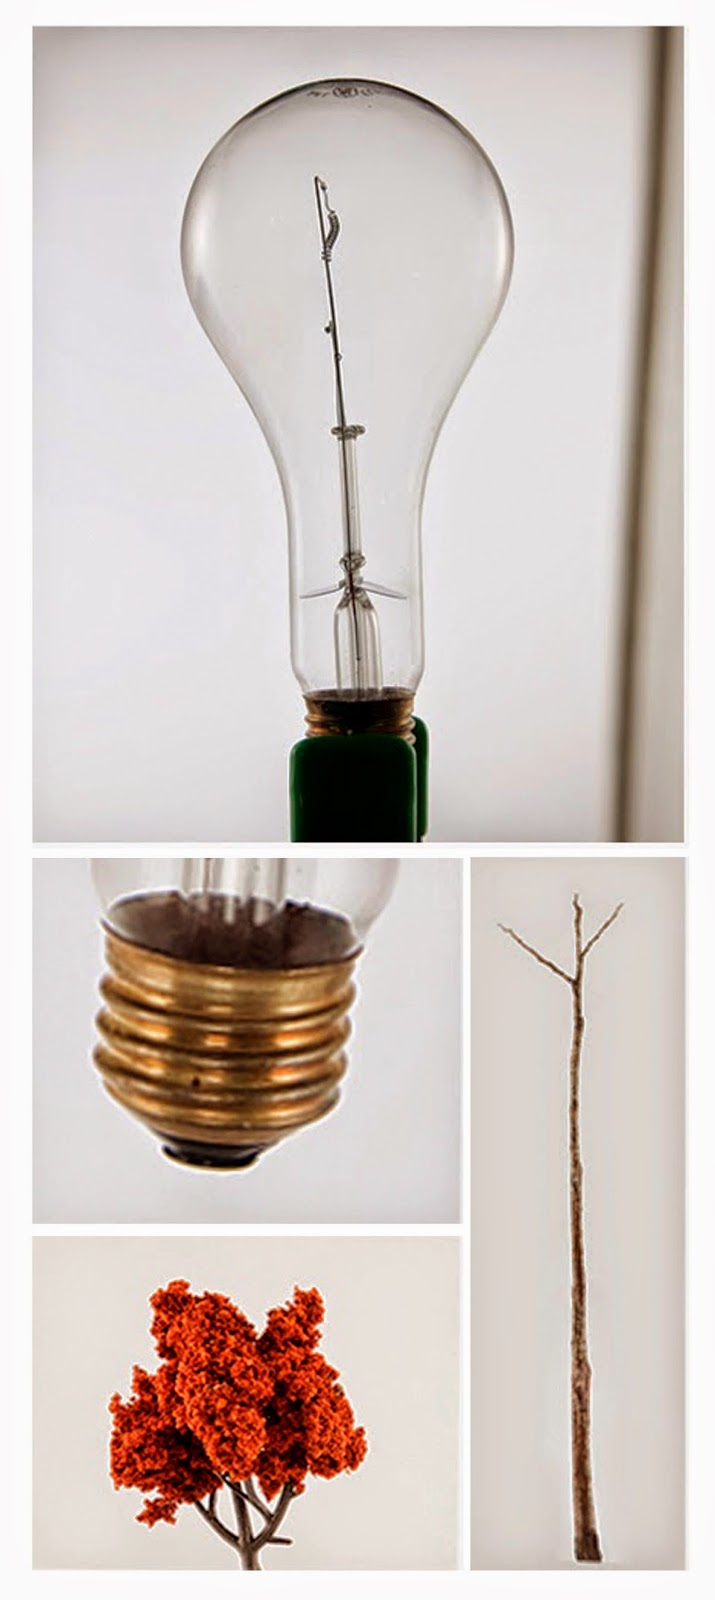
To start of with we were given 4 images which we were then to image maniupulate them to create a new image.
 |
| Images before editing |
|
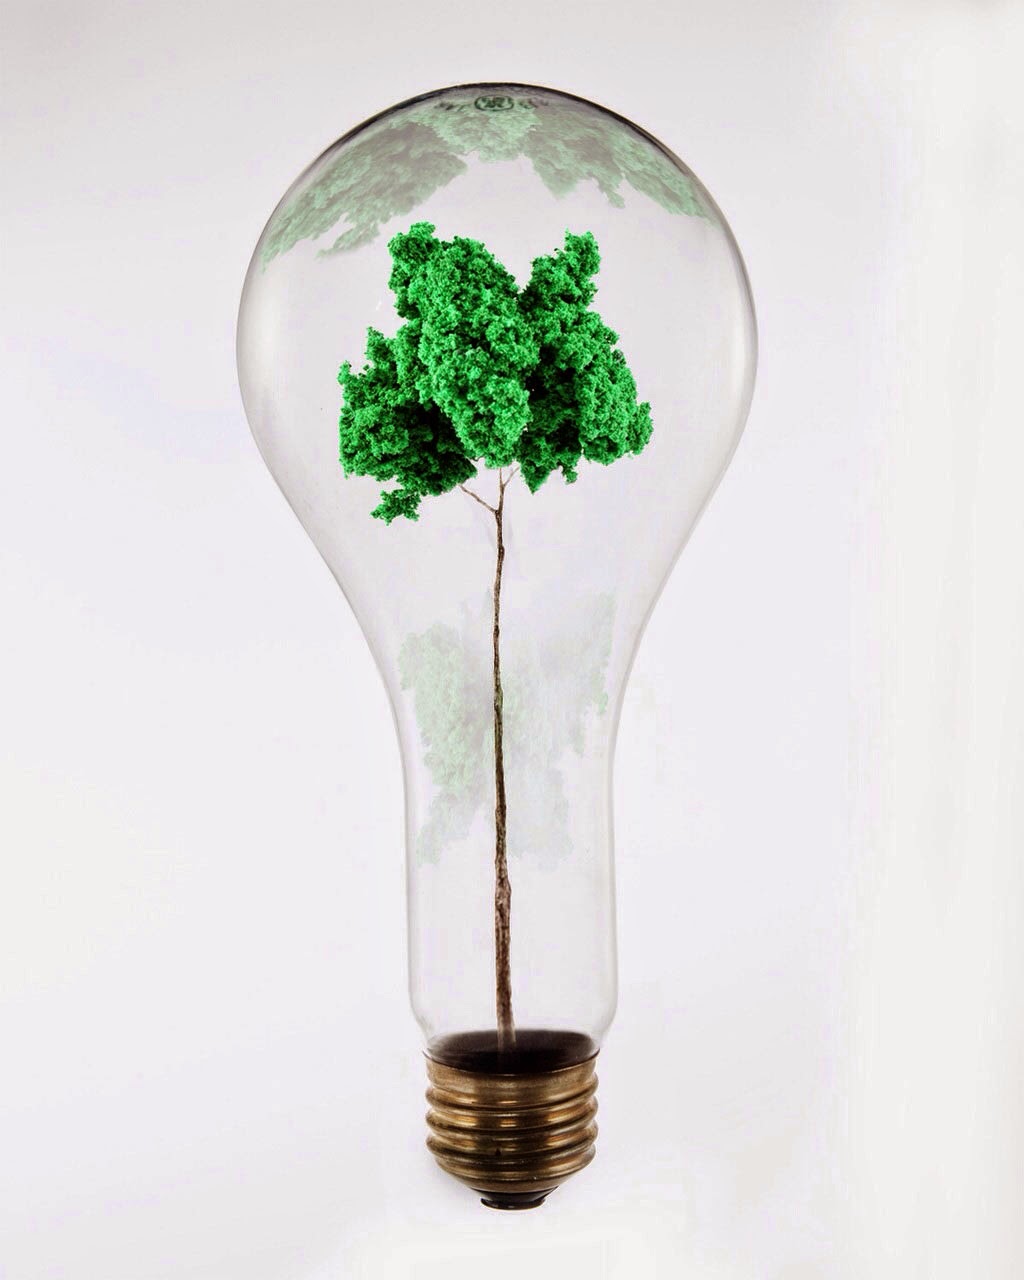
Starting with the main lighbulb image we placed the gold screw image towards the bottom using the basic transform tool to rotate and rescale the image to gain the appropriate angle and perspective. The next step we did was use the patch-up tool to eliminate aspects of the background we didnt want and to give the image a clean look.after this we added the twing in the middle again using the transform tools to get the right propotions and to place it into the right place, to which we added the tree on top of the twig. We then added layer masks and changed the hue and saturation levels of the tree to get a bright green environmental colour and to enhance the olour quality. We duplicated this layer twice faded the opacity and manipulated the shape of the image warping it to create reflections on the lightbulb below and on top of the clear image of the tree. Below is a image of my final outcome.
 |
| My final outcome |


